

 Edit This Page
You have created an npm registry on your Repsy Open Source instance (see Creating a Private npm Registry). You are now ready to publish packages to your registry.
To create an npm package, you can use npm cli’s init command. Repsy Open Source accepts scoped packages such as @foo/foo as well as unscoped ones. This tutorial uses a scope, so that only the packages of that scope come from Repsy and everything else still comes from npmjs.org. You can make it by providing the --scope parameter to the command as follows:
npm init --scope foo -y
If this command is executed successfully, a package.json file will be generated automatically. This file is required to publish your packages. You can learn more about the file of package.json here.
You currently have an empty npm package. The only missing part is the authentication. Publishing always needs credentials, also to a public registry. You can log in with npm as shown below, or put a deploy token into your .npmrc file, see Authenticating with npm.
To authenticate, you can use the login command with the scope name and the registry URL. For the scope foo, you can run:
npm login --scope foo --registry https://<your-repsy-host>/<repo-name>/
Write the registry URL with the slash at the end, as the Configure dialog of the repository shows it. <your-repsy-host> stands for the host and port of your instance. On a local instance with the default settings the URL of the default npm repository is http://localhost:9090/npm/, see Ports and Repository URLs.
This command asks for a username and a password, and, depending on your npm version, for an email address. Use the username and password you sign in to the web UI with, or any username together with a deploy token of this repository as the password. npm saves the login token that Repsy returns in your ~/.npmrc file, together with the registry of the scope. If this command is executed successfully, you will be authenticated to the registry and be ready to publish your package. As a final step, please run the following command:
npm publish
Congratulations, you have created and published a package to your registry! You can now install your package into any project you want and use safely.
Check the Result
Sign in to the web UI, open Repositories and open your npm repository. The package is listed under its scope (@foo); an unscoped package is listed under ~. Open it to see its versions, the latest tag and the command to install it. A scoped package needs no --access public: who can read it is decided by the visibility of the repository. If publishing fails, see Troubleshooting.
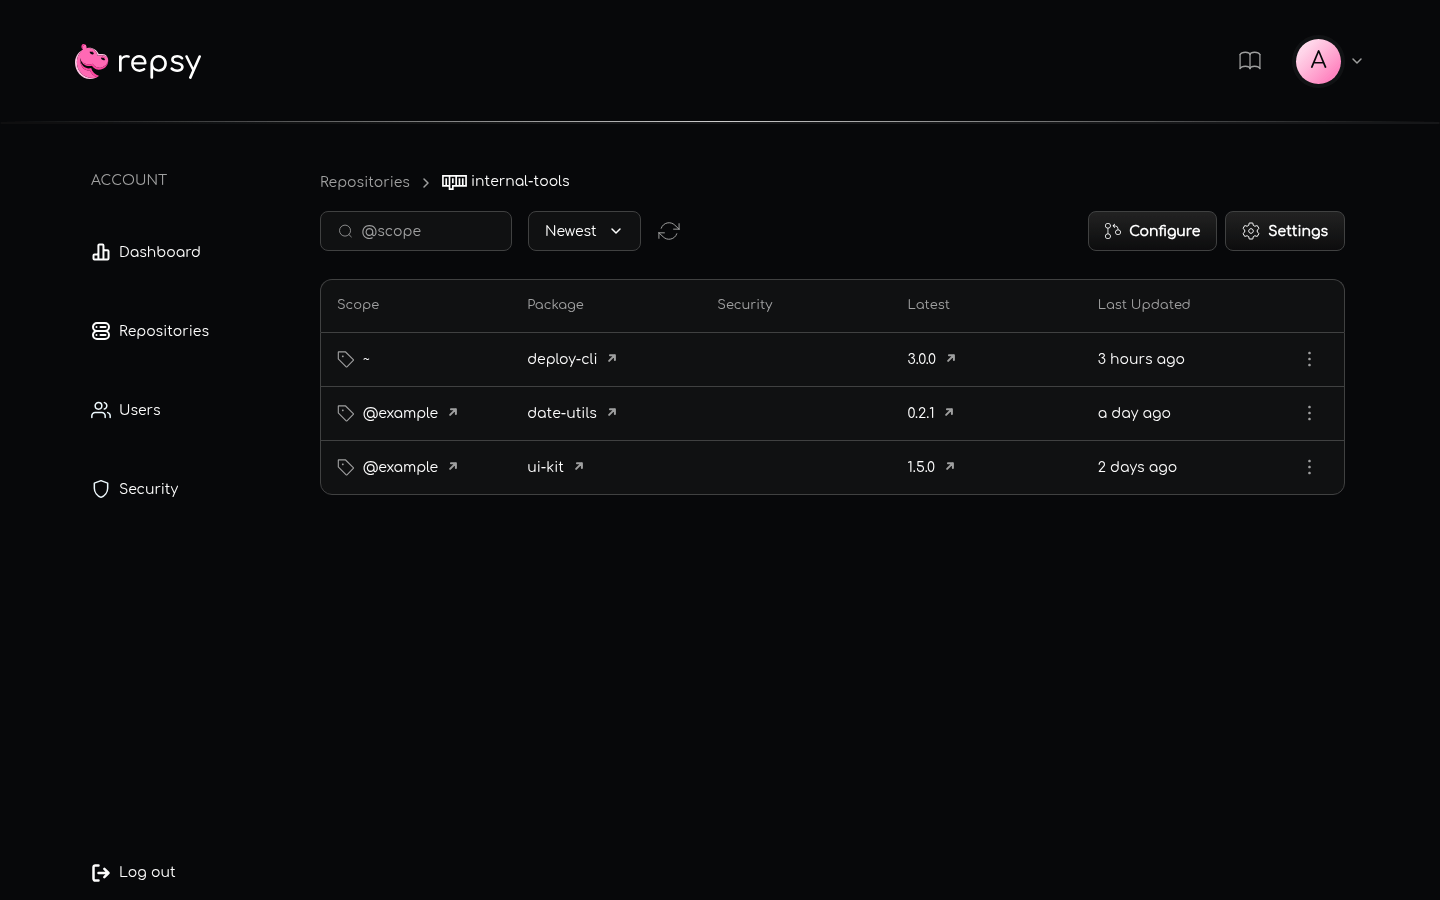
@example, and the unscoped package under ~.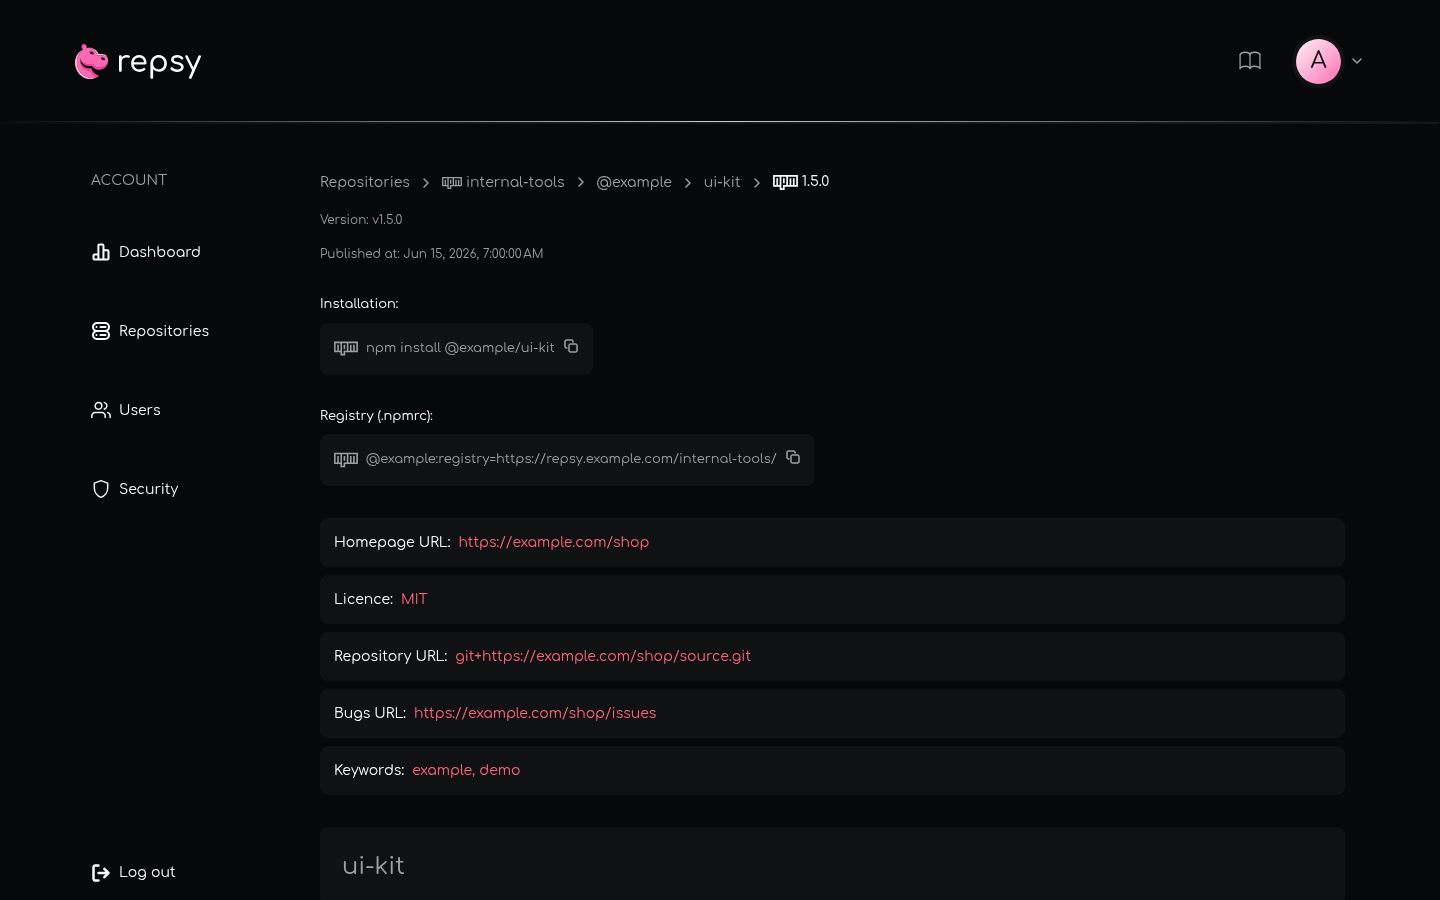
.npmrc file.
